Conducting a Self Assessment
Conducting a Self Assessment is easy within the Community Portal
Accessing Assessments
- Log into the Community Portal
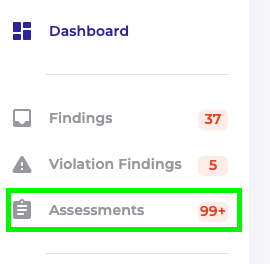
- In the toolbar on the left hand side, locate "Assessments" and select

- From the Assessments Landing Page, locate and select "Create New Assessment" in the top right corner

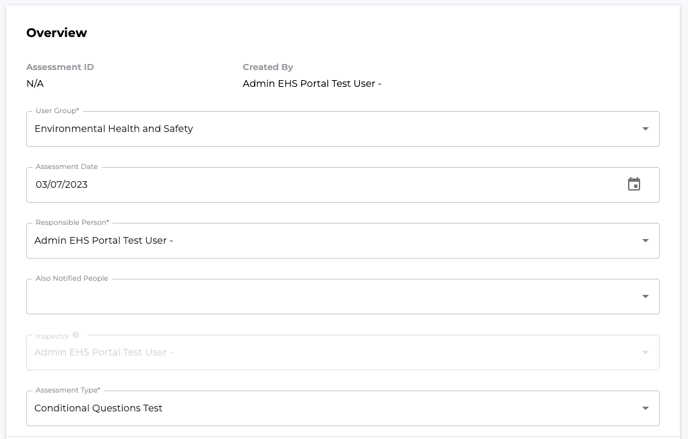
- Fill out the Assessment Overview fields
- Select the User Group*
- Select the Assessment Date*
- Select the Responsible Person*
- Select the Also Notified People
- Select the Assessment Type*
- Above listed fields marked with an asterisk are required to complete the Assessment

- Above listed fields marked with an asterisk are required to complete the Assessment
- Fill out the Assessment Object fields
- Select the Object Type*
- Select the Object*
- Fill out the object details
- Note: above listed fields marked with an asterisk are required to complete the Assessment
- Note: the Assessment Object should be related to what the Assessment is pertaining to

- Fill Out the Checklist
- Note: With nested questions, not all questions will appear when first. As questions are answered, questions will appear and/or disappear
- Note: With nested questions, not all questions will appear when first. As questions are answered, questions will appear and/or disappear
- Upon completion, locate and select "Finalize" in the top right corner
- If the Assessment is not completed, locate and select "Save" in the top right corner

- If the Assessment is not completed, locate and select "Save" in the top right corner
- The Assessment has been finalized
